Scrap your Summer
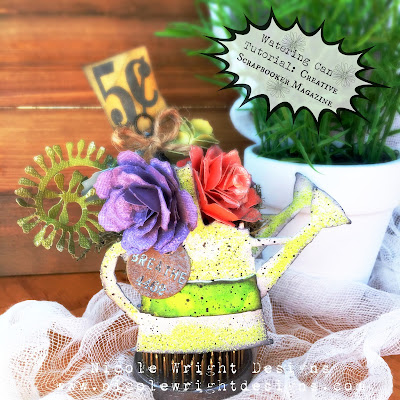
Join me on the Creative Scrapbooker Magazine Blog for a Scrapbook Layout...? Oh yeah... I went all scrappy for this post. I am sharing my NEW about to release TINBIT TRAVELS Collection with Wild Whisper! Swing by the Creative Scrapbooker Magazine Blog for a full tutorial! PIN IT EAT. SLEEP. CRAFT. {repeat}


Very clever! The green EP looks fabulous as does the "fond" you created from the die. Lovely details!
ReplyDeleteCool! Great idea making the Watering Can 3D!
ReplyDeleteOh, what an amazing 3d project! Great colours and a fabulous enamel effect! Love it! Thank you so much for joining in our Crazy For Colour challenge at Anything But Cute! Branka DT xx
ReplyDeleteLove your 3D watering can, and those iced enamels are the cat's meow! Great job on your Pinecone flowers--I fail miserably at this even with the video! And my pinecones look even worse! It must be the nail polish, dear! Cause your's rocks and so do your blooms!
ReplyDeleteThank you for joining our Crazy For Color challenge at Anything But Cute. Hugs! Sara Emily DT
I used to be the same way Sara! I would have the cold sweats whenever I had to make these. So I spent hours making them until I felt I was good to make them. Now I love making them! Here's my post to perfecting these flowers. http://canadiannickelscrapn.blogspot.ca/2014/04/tattered-pinecone-journey.html
DeleteThis watering can fill of pretty flowers is beautiful and so 3D! Awesome sauce colors and that EP is freakin wow! The little token and tidbits add wonderful texture. Thanks for the tidbit about the flower making, I don't have the die but was considering it.
ReplyDeleteThanks for joining our "Crazy for Colour" challenge at Anything But Cute! Hugz. ~Niki DT
Completely adorable and beautiful!!!
ReplyDeleteWhat a great 3D watering can with lots of fun flowers and super colour. Thanks for joining us at Anything But Cute.
ReplyDeleteHugs!
Cec